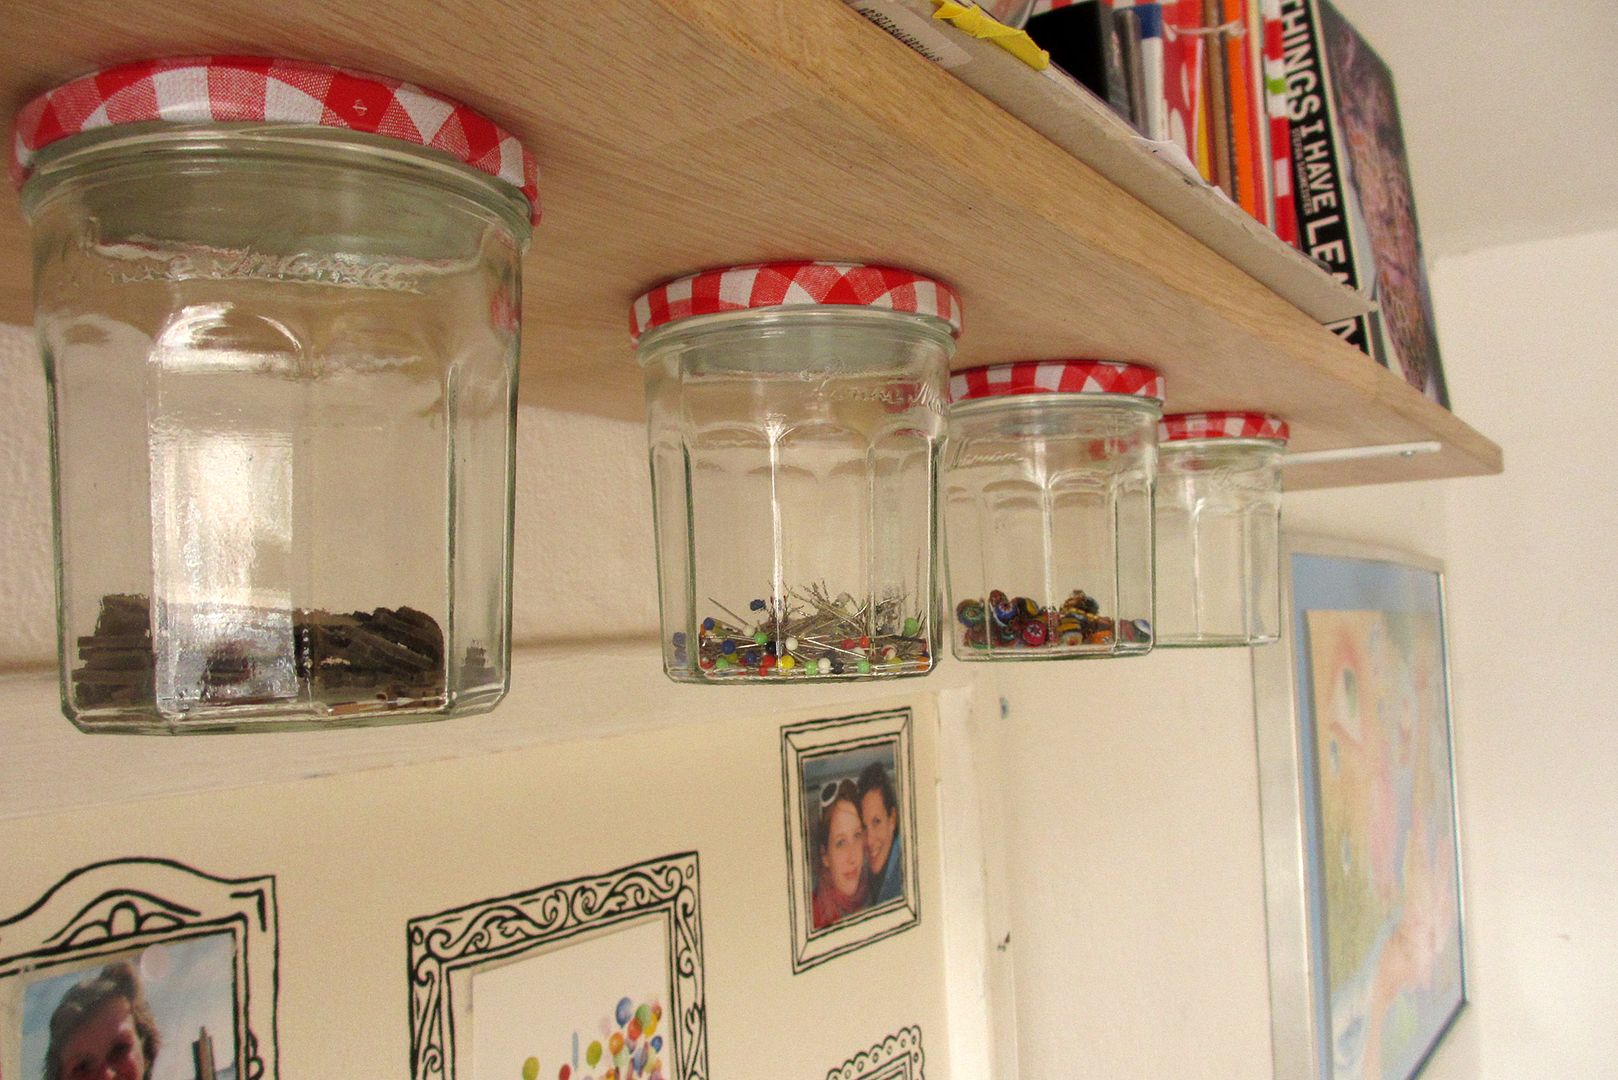
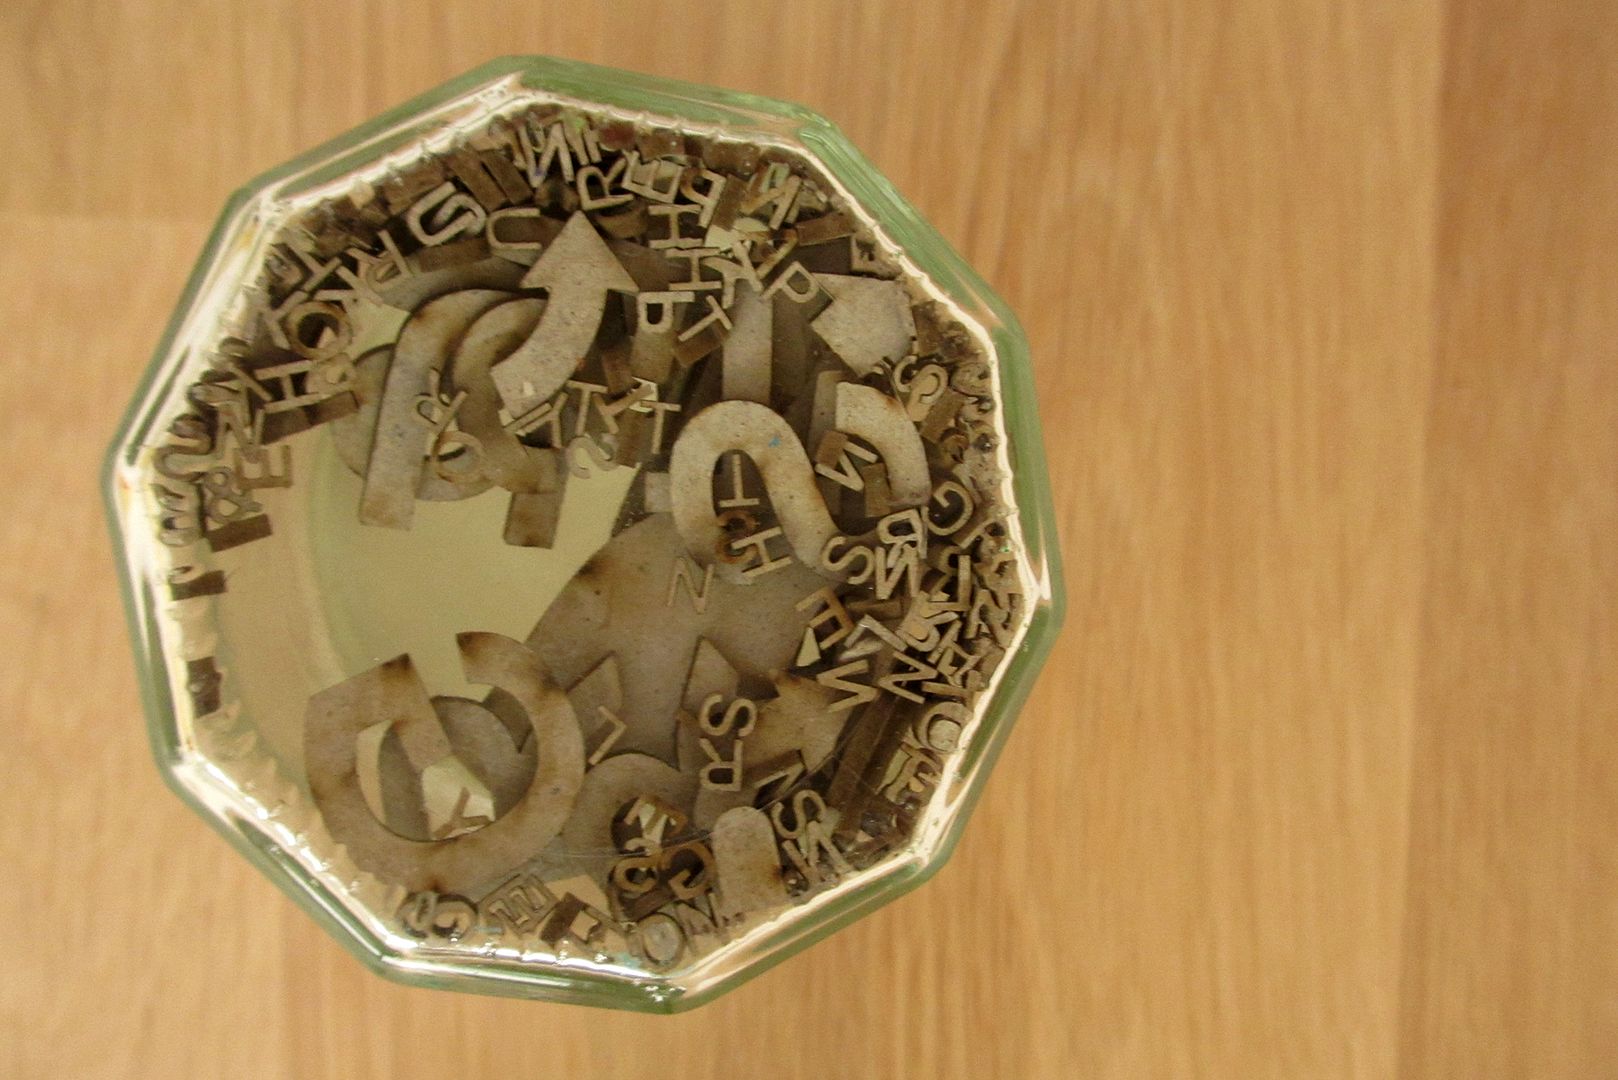
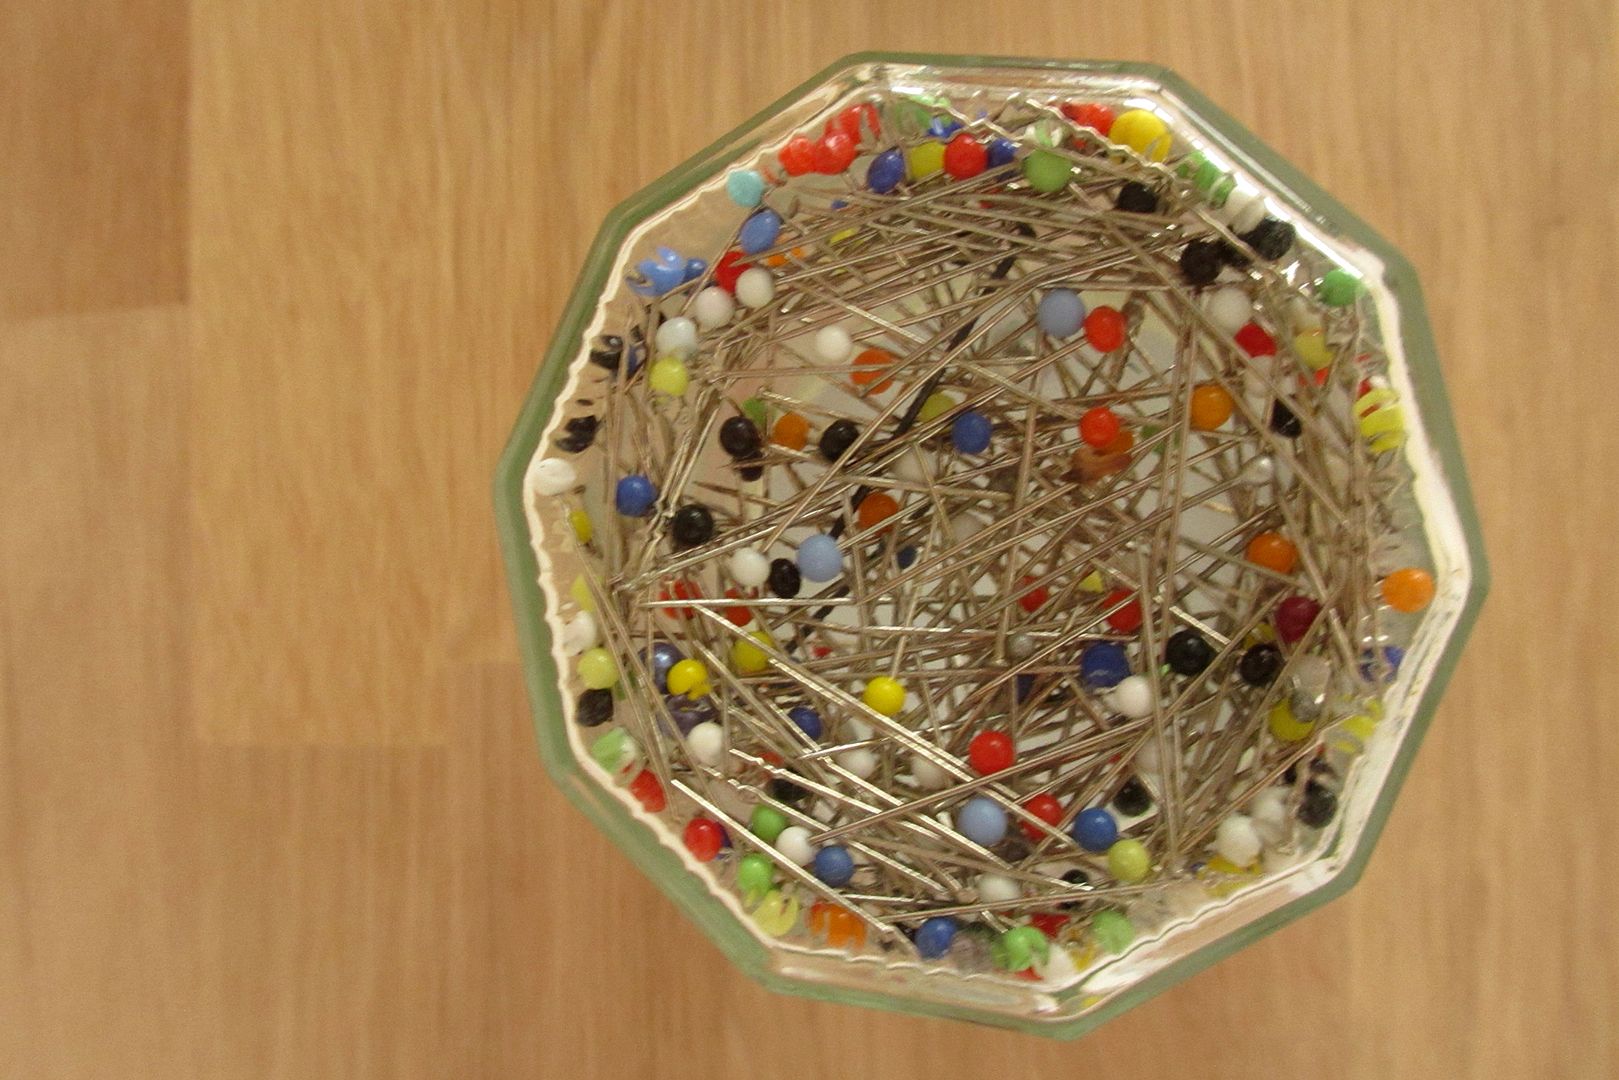
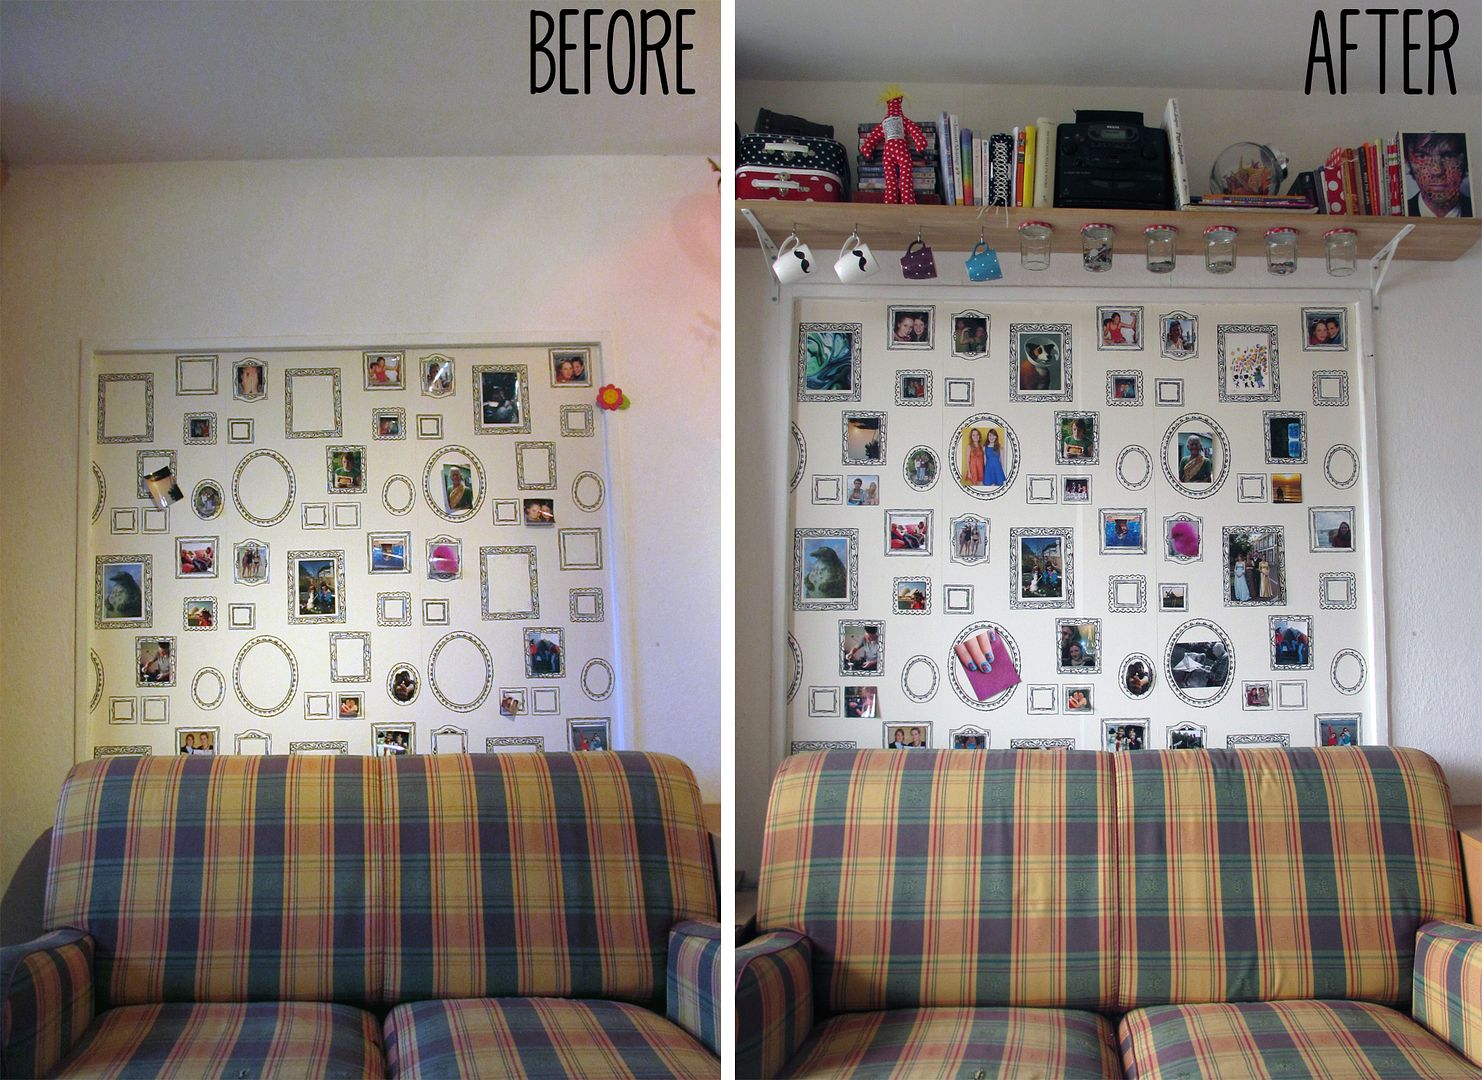
My living space isn’t that big. And so last week I came up with the idea to make a shelf to dump all the books and other stuff that has been slowly and sneakily taking over my desk and other parts of my room. I don’t know why I haven’t thought of this before. As the shelf was going to be quite high, I decided to hang jars at the bottom by using an idea I once saw somewhere on the Internet.
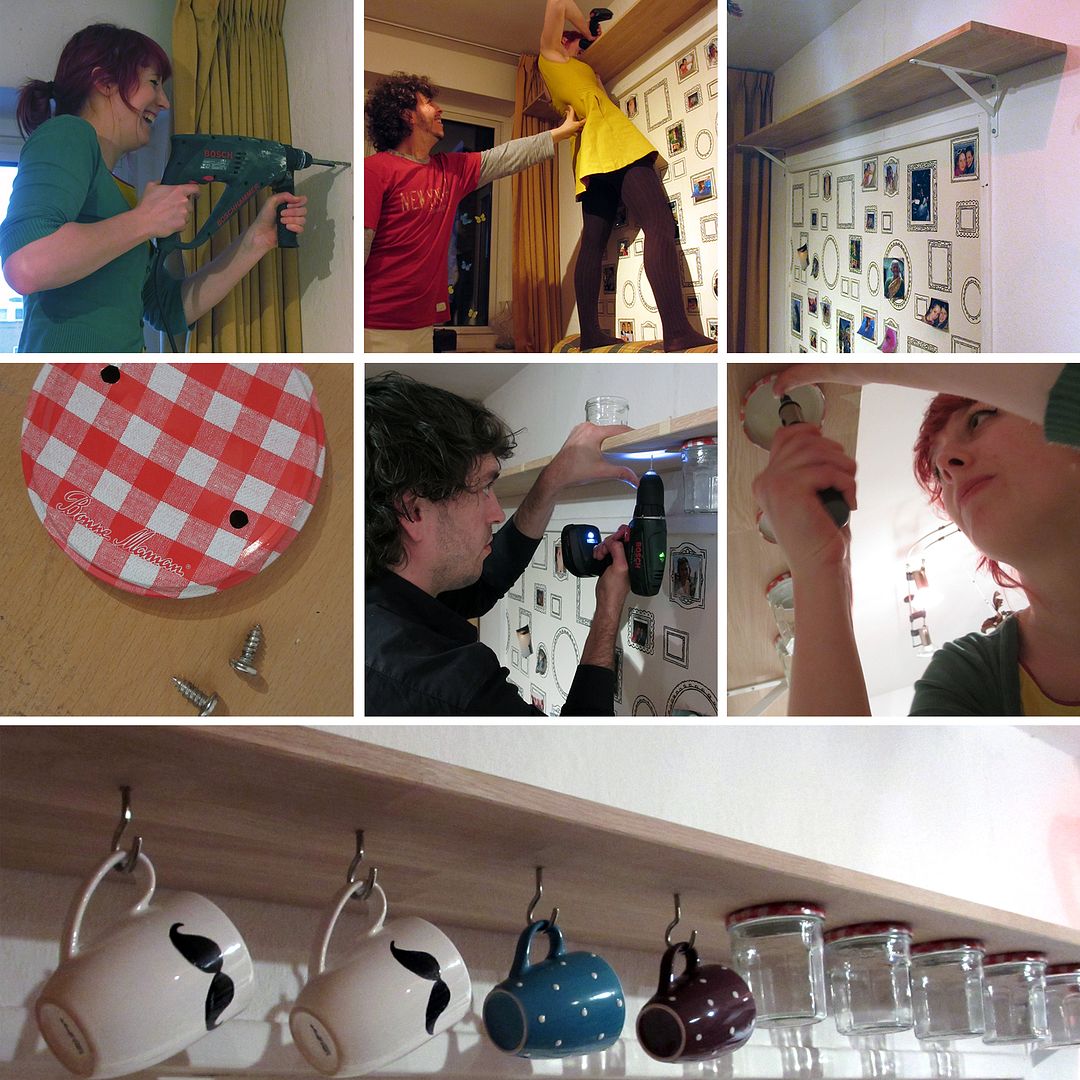
If you want to try this yourself, you need to first hang a regular bookshelf, like you normally would. If you are not sure how to, find a dad/brother/boyfriend/husband/roommate/friend to help you. If it wasn’t for my boyfriend I am positive that the whole thing had already fallen on my head (thank you!!).
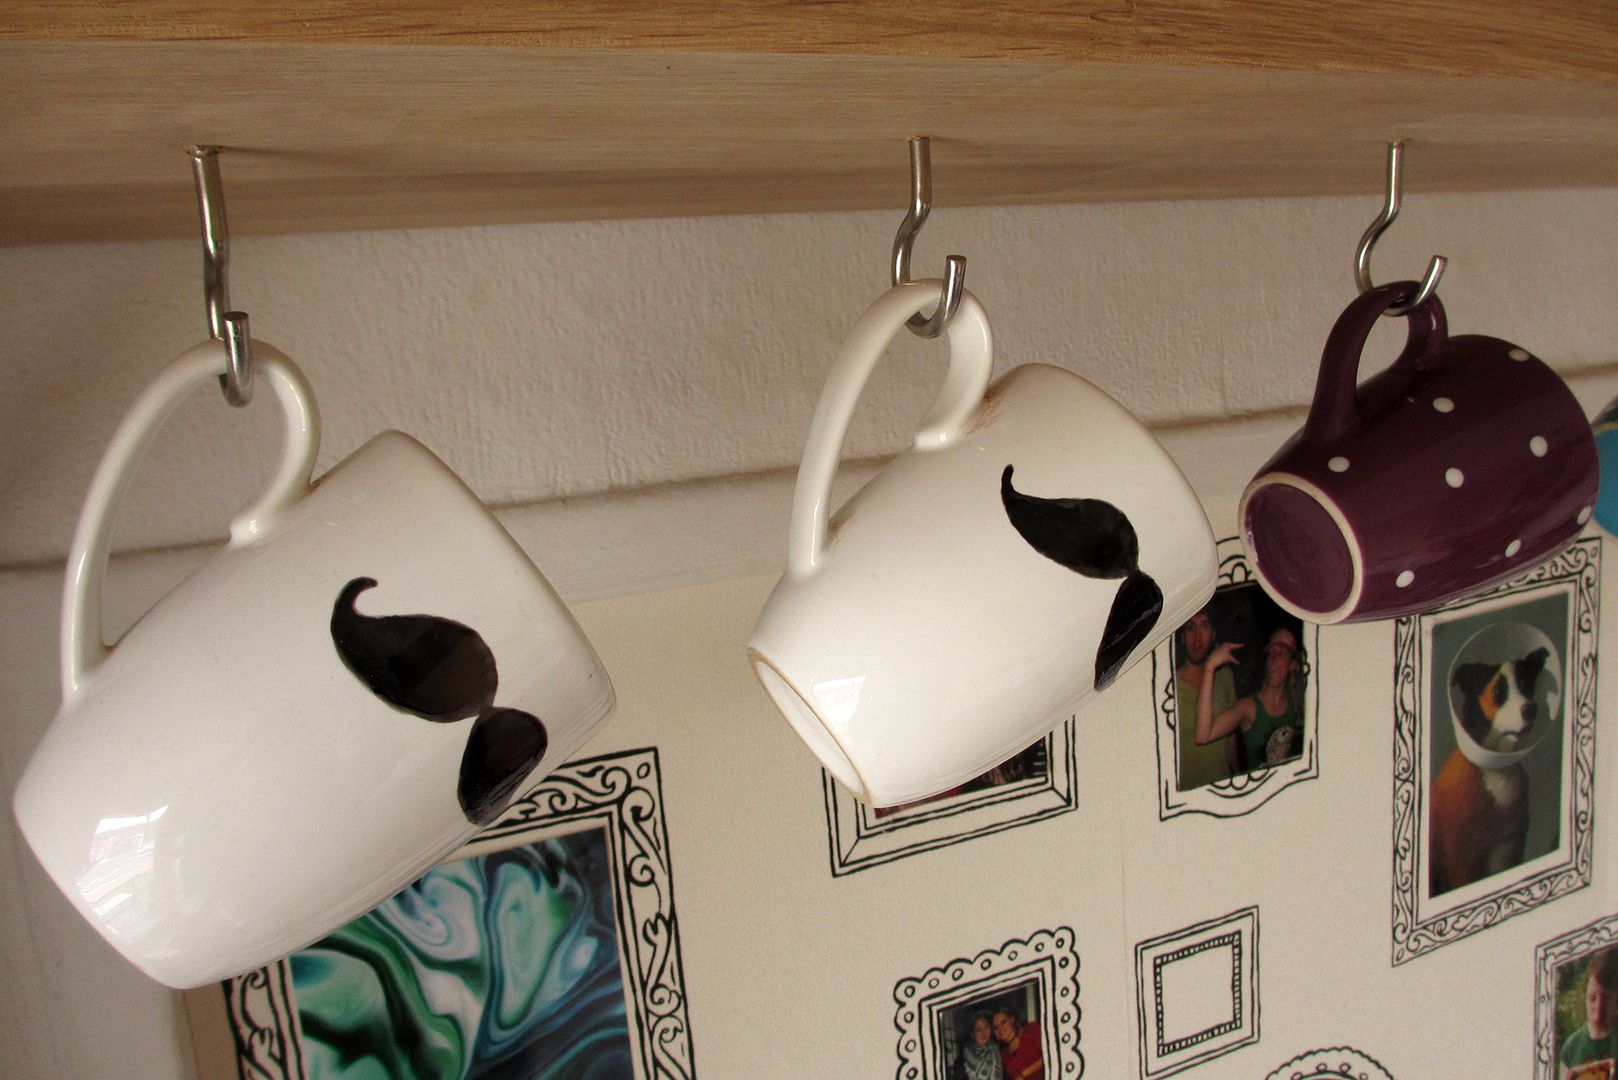
For the jar part: Find screws that are shorter than the thickness of your shelf (otherwise they will pop out on the top surface). Then drill two holes in each lid, slightly bigger than the diameter of the screw, but small enough so the head doesn’t fit through it. Measure and mark where you want the jars to hang. Drill small holes on the places where the screws will go so the wood won’t split (as thick as the core of the screw; you will still need to twist the screw to get them in). Then screw the lids to the bottom of the shelf. You can now twist the jars on them. You can also add some hooks to hang cups and other things like I did.
I am so happy with the way it turned out! And most importantly, the rest of my space is a lot tidier this way. Have you ever hung a book shelf yourself before?



![[2/7] Birds painting](https://www.magicaldaydream.com/wp-content/uploads/2013/09/birds-painting-1_zpsd2e01cb0-150x150.jpg)
12 Comments
Kristin
April 11, 2013 at 16:56
Such a great idea to keep things off the counter! I’ve been meaning to do this with my overabundance of coffee mugs :)
Magical Day Dream
April 24, 2013 at 21:17
You should! I really do have a lot more space now :)
Helen
April 11, 2013 at 18:31
Fantastic! I love being able to use a much space for storage as possible, really like your picture frames too!
http://ahandfulofhope.blogspot.co.uk/
Magical Day Dream
April 24, 2013 at 21:17
Me too :) Yes it is a wallpaper, to which I glued/stuck pictures :)
Jennifer - The Deliberate Mom
April 11, 2013 at 21:19
That’s a great idea! Using every bit of space possible.
Wishing you a lovely day!
xoxo
Magical Day Dream
April 24, 2013 at 21:18
Thank you :) Hope you are having a lovely day too and a lovely week and so on ;)
Jessica B
April 15, 2013 at 01:17
That’s super cute and also gives you so much more storage space! I’ve never hung a shelf by myself before, but I have made a shelf.
Magical Day Dream
April 24, 2013 at 21:19
That sounds impressive as well :) I got help with this one, but I did feel proud om myself of drilling holes in the wall for the first time ever.. haha
marietta
April 15, 2013 at 23:41
convenient is the word that comes to my mind! Cool! I’m moving to a new house really soon, and so I might try it, too. (I would also love to see some more photos of the photo wall!)
♥
Magical Day Dream
April 24, 2013 at 21:21
Here is another picture of my wall: http://magicaldaydream.blogspot.nl/2011/07/upside-down.html But I guess I don’t have details and that one is quite old.. Good luck and have fun with the moving process!
Fash Boulevard
April 16, 2013 at 06:21
oh my goodness, this turned out amazing. Absolutly adore it, love. Watch out HGTV. :) xo
http://www.fashboulevard.blogspot.com
Magical Day Dream
April 24, 2013 at 21:21
Haha thank you :)